GRUBメニューから「NetBSD Xen」を選択してブートします。
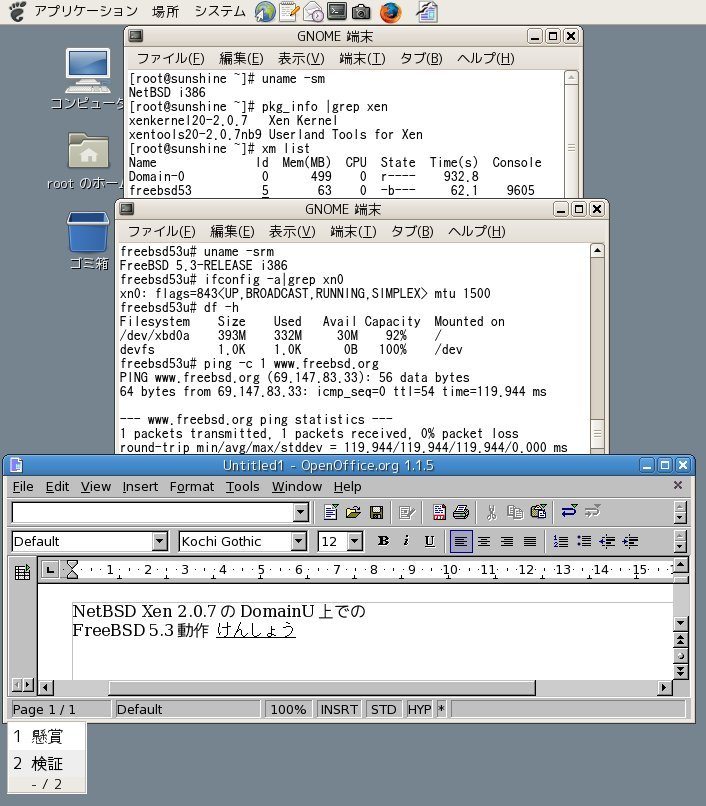
# ps -ax|grep xen
336 ?     S    0:00.67 /usr/pkg/bin/python2.4 /usr/pkg/sbin/xend start
# xm list
Name              Id  Mem(MB)  CPU  State  Time(s)  Console
Domain-0           0      500    0  r----     24.1
# cd /usr/pkg/share/examples/xen
# xm create -c xmvine31u
※createはDomainUの作成と起動を指します。
※-cは現在のターミナルをDomainUの仮想コンソールとして使用するオプションです。
DomainUを起動するとブートメッセージが表示されます。
DomainUでは実際のネットワークカードが存在しないため実際のネットワークカードの設定をどうするかの問合せ画面が表示されます。
まず「Welcome to Kudzu」画面が表示されたらEnterキーを押し、次の「Hardware Removed」(ネットワークカードの取り外し)画面でF3キー(Ignore/Keep All)を押します。
この操作によって次回からは本画面は表示されません。
DomainUのブートプロセスのメッセージが流れてテキストログインプロンプトが表示されます。
通常通りログインします。
またログインプロンプトのまま放置しておいてもVNC接続して使用できます。
まずDomain0のNetBSD 3.1側にvncviewerをインストールします。
# export ALLOW_VULNERABLE_PACKAGES=yes
# cd /usr/pkgsrc/net/vncviewer
# make install clean
※vncviewer-4.1.2パッケージがインストールされます。
VNCクライアントのvncviewerを起動します。
接続先に「vine31share:1」を指定して<接続>ボタンで接続します。
※vine31shareはVine Linux 3.1のホスト名です。
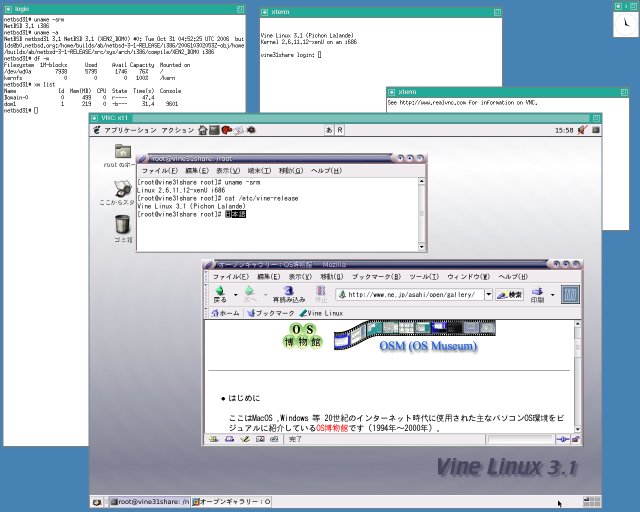
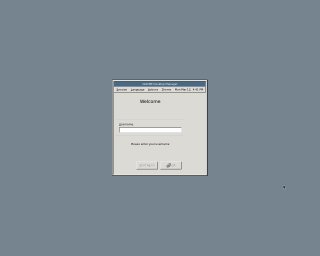
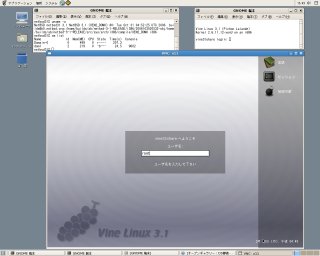
VNC接続できるとGDMログイン画面が表示されますので通常通りログインします。
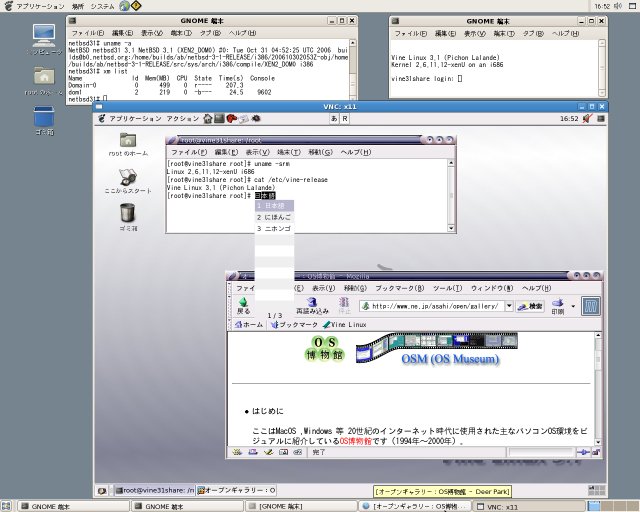
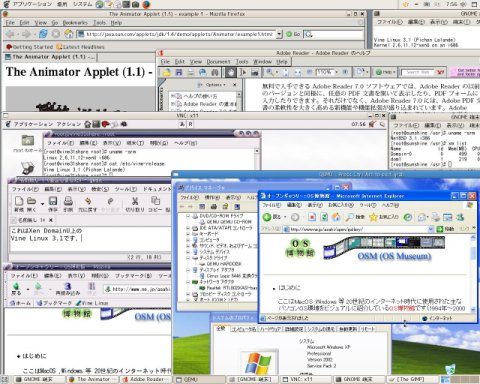
VNCクライアントからDomainU側のGUI操作が行えます(日本語入力も行えます)。
# export ALLOW_VULNEARABLE_PACKAGES=yes
# cd /usr/pkgsrc/meta-pkgs/gnome
# make install clean
エラー発生時はmake install cleanを再実行します。
gnome,gedit, gdm, firefox2も自動インストールされます。
更に以下もインストールします。
/usr/pkgsrc/fonts/ja-sazanami-ttf
/usr/pkgsrc/fonts/kochi-ttf
# vi /etc/X11/XF86Config
「FontPath "/usr/pkg/lib/X11/fonts/TTF/"」行を追加します。
ホィールマウスを使用する場合は/etc/X11/XF86Configのマウス用InputDeviceセクションに「Option "ZAxisMapping" "4 5"」を追加します。
# vi /etc/rc.conf
以下の行を追加します。
gdm=YES
# mkdir /etc/gdm
# cp /usr/pkgsrc/x11/gdm/work/gdm-2.16.4/config/gdm.conf /etc/gdm/gdm.conf
# ln -s /usr/pkg/sbin/gdm /etc/rc.d/gdm
NetBSD 3.1にはlocaleコマンドで分かるように標準ではja_JP.UTF-8は存在しません。
# locale -a|grep ja_JP
ja_JP.ISO2022-JP
ja_JP.ISO2022-JP2
ja_JP.SJIS
ja_JP.ct
ja_JP.eucJP
そこでen_US.UTF-8を利用して以下の操作でja_JP.UTF-8を作成します。
# cd /usr/share/locale
# ln -s en_US.UTF-8 ja_JP.UTF-8
# cd /usr/pkgsrc/inputmethod/uim
# make install clean
~/.xinitrcを以下の内容で作成します。
export LANG=ja_JP.UTF-8
exec gnome-session
export XMODIFIERS=@im=uim
export GTK_IM_MODULE=uim
exec uim-xim
尚、このままではOpenOffice.org 1.1.5でuim-Anthyを使用して日本語入力することはできません。
GNOMEの[システム]-[設定]-[セッション]の自動起動するプログラムとして「uim-xim --engine=anthy &」を指定しておきます。
これでOpenOffice.org 1.1.5での日本語入力が可能となります。
時刻がUTCになっている場合は以下の操作でローカルタイムに変更します。
# gdb --write /netbsd
(gdb) set rtc_offset=-540
(gdb) quit
GRUBメニューから「NetBSD Xen」を選択してブートします。
GDMのセッションでgnomeを選択し、LanguageはJapanaeseを選択してログインします。
GNOMEパネルの[システム]-[設定]-[入力メソッド(uim)]でuimの設定を行います。
例えば、標準の入力方式を「直接入力」から「Anthy」に変更します。
予想入力を有効にする等の設定はお好みに合わせて行います。
上記と同じ手順でDomainUでVine Linux 3.1を起動してvncviewerで接続します。